My backyard neighbour visited me on a monday with two pieces of cardboard and his tablet in his hands.
“Can you create a cusom bracket for this tablet, using these two rough cardboard templates i did?”
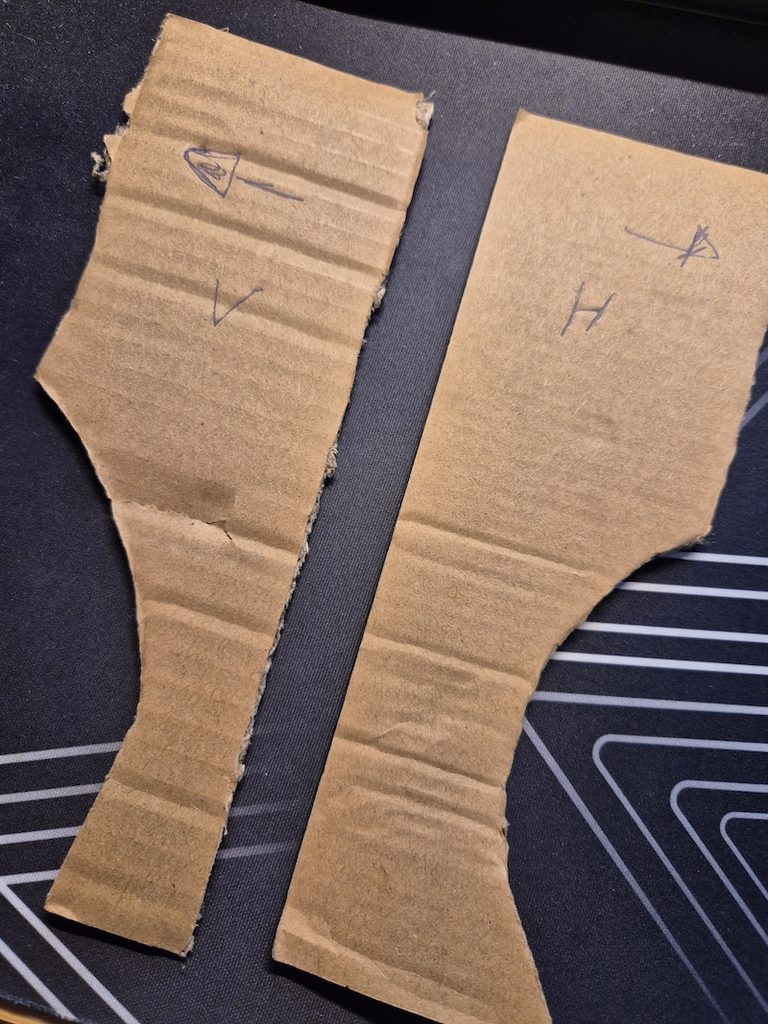
At that time I was building a shed and had workclothes and tools in my hands.
The backstory to this is, that he runs a small racecar in the Scandinavian C1 league and I have already developed a message app he uses in the car. The app is basically a “one way message”-system from the pit crew to the driver in the car. They can write custom stuff of course, but usually focus on lap times and “box box box” messages if it’s time to change driver etc.
Anyhow there was a new app, that can record some video, using the tablets camera, so he wanted to try this out. The problem was, me building a shed, that he wanted them friday morning at the latest, as he was going to the racetrack that afternoon and all weekend.
I would like to admit, that I’m NOT a 3D software guru 🙂 I’ve created a few pumpkins in blender and a few small brackets for various items in Fusion360… but that’s about it.
ANYWAYS…
First I guessed, that roundness in the two cardboard shapes, was a PERFECT circle… because… that seemed like the easiest thing in the world to use.
So I created a square sketch and added two holes in it – one for the shape and one more at the top because the cardboard top shape was kinda bulky
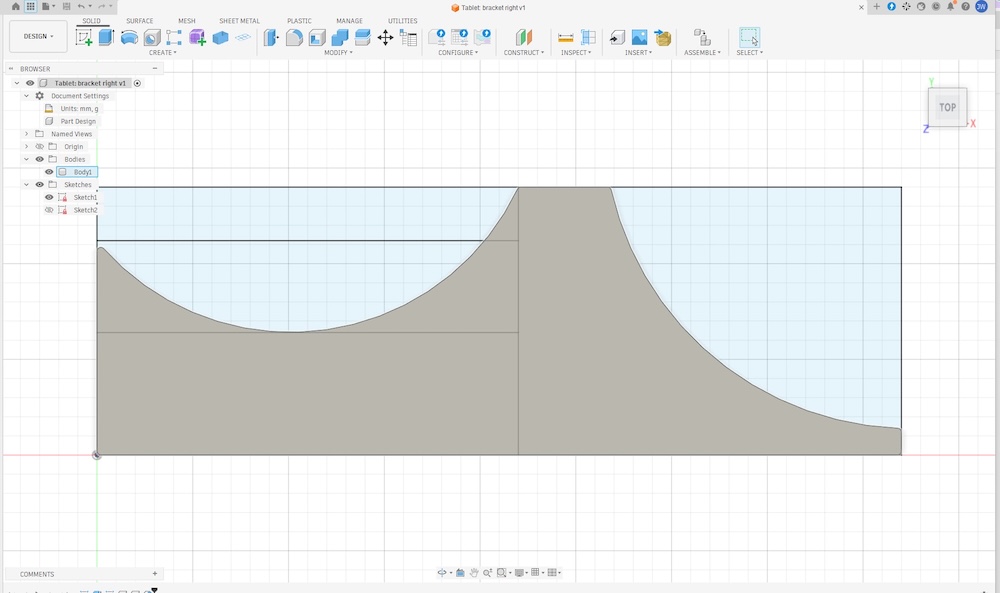
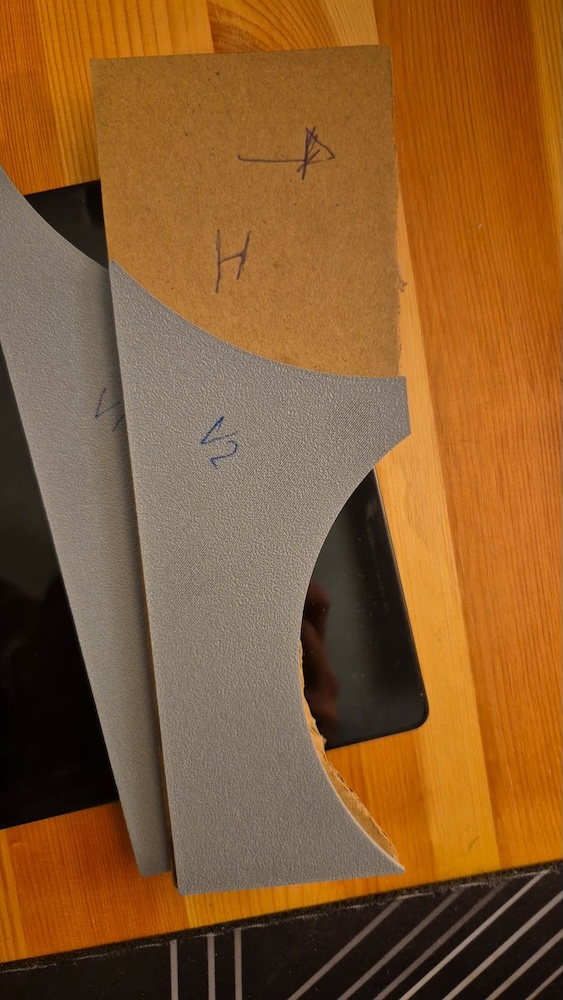
AND VOLA! … well it roughly fits right? I’m on a time crunch, so it should be fine.
I showed the models to my neighbour, who was kinda underwhelmed… “Where’s the rest” he asked… Ok then… I roughly explained that this was the approach and I would make the rest “soon”… this being wednesday, me working on the shed, getting tired, going to bed and then! it’s thursday evening… meh.
SO the day before he needed them, I started working on how to mount the tablet and holders for the tablet, getting confused about right and left markers on the cardboard templates… working… anyways, I got something working. With the help of google, I found our how to do offsets in fusion360 and I also did a series of rectangle sketches with pull/press and it worked 😀
(I also added holes in the tablet holder, for getting access to the screws as well on the curved bracket)
yes, i’m kinda amazed myself tbh.
The result was actually kinda nice, and I had some black PETG-CF in a box that I used for it.
So this was the result (please don’t mind the cable management on the desktop.. i’m building a shed! and and and…)
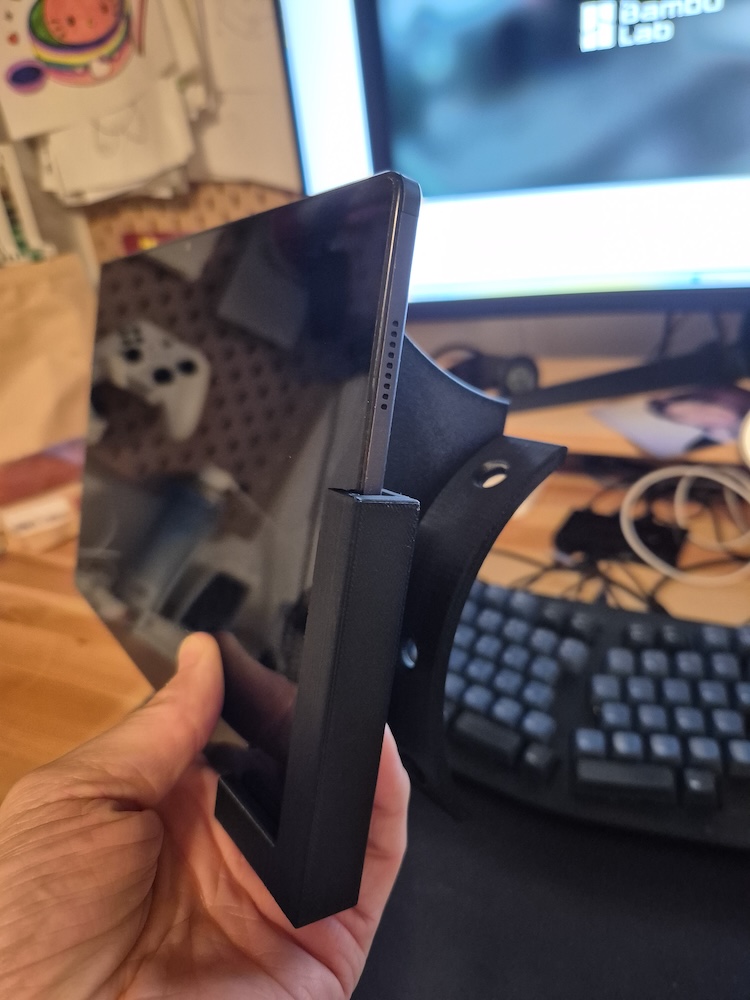
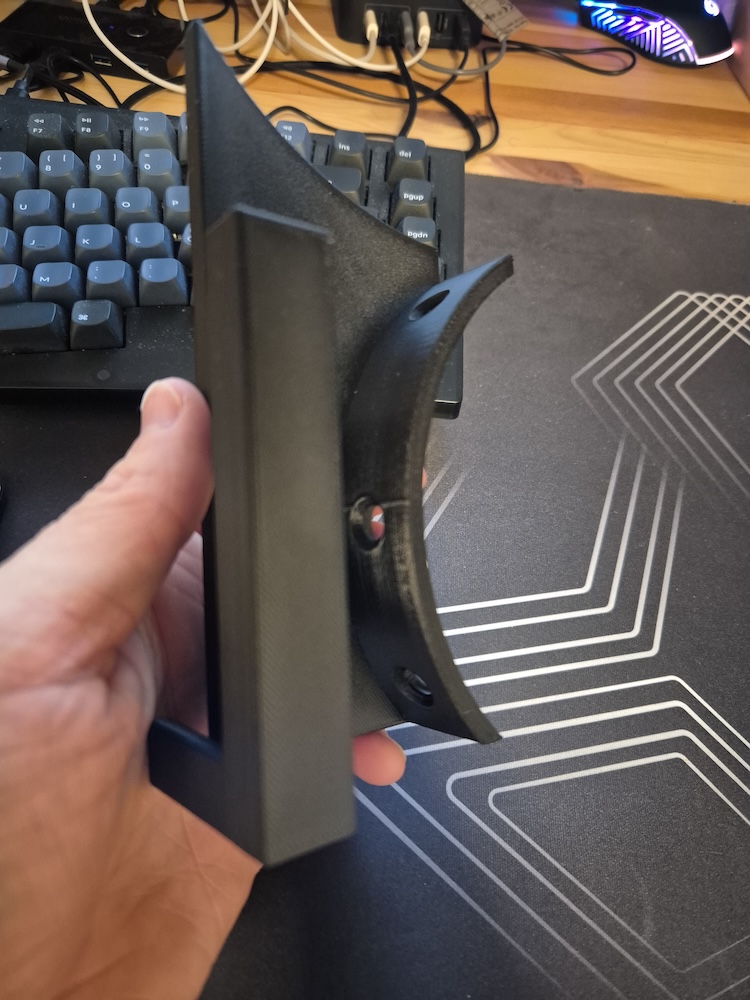
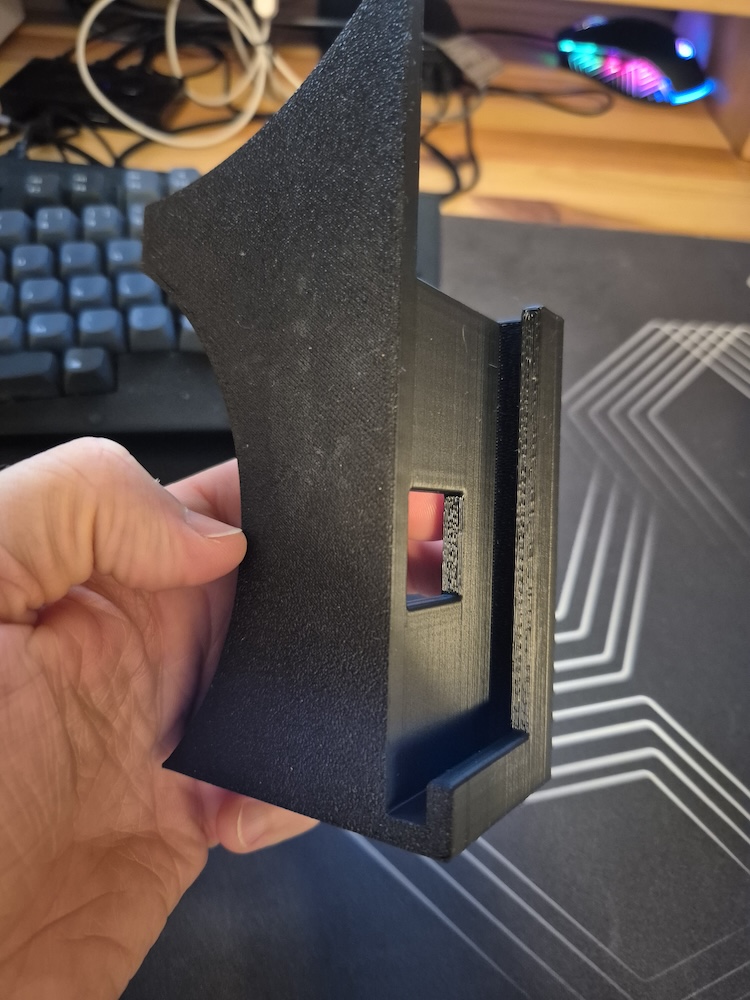
Came out pretty! and mind you, this was done at around midnight, so I quickly started the other print, for the left side and went to bed… … WHAT COULD GO WRONG!
Well, nothing did, I’m just trolling 😛
My neighbour was kind enough to take a few images with the mount in the car and we ofc need to make a few adjustments, but mainly for moving the tablet upwards. Anyways, here is a picture of it in action!

It’s kinda hard to see the brackets, but they are there! and it’s my app on the right hand side, displaying a “Testtest” message.


Leave a Reply